BUILD STRONGER WALLS
| Strong walls enable the foundation and roof to function together as a resilient structural system. This strategy focuses on how to design strong walls for your home. | Strategy in Action 1. Wall Design Principles 2. Establish the Type of Wall 3. Select Wall Materials 4. Design the Wall System |
WHAT YOU NEED TO KNOW
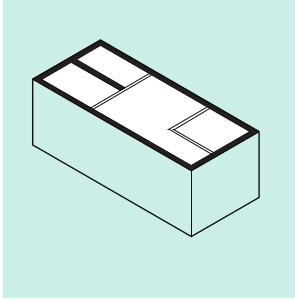
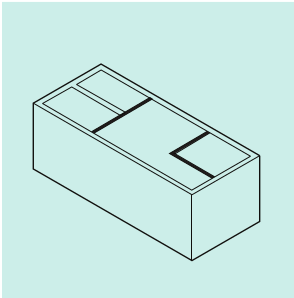
A wall is part of the structural system and delineates a home and its interior spaces. It is held by the foundation, it supports the roof, and maintains a continuous load path by allowing the roof loads to reach the foundation.
A wall:
- Supports the roof and transmits vertical (gravity) and lateral (environmental) loads to the foundation.
- Helps air circulate around the home.
- Protects the home from wind, flood, and earthquake loads.
A wall must:
- Be properly anchored to resist wind and seismic loads.
- Have drainage to prevent rainwater ponding, particularly in low-sloped roofs.
- Be leak-free and crack- free, since any holes may compromise its structural integrity.
The components of a strong wall are:
- Framing or the skeleton.
- Strong connections to the structural system or the joints.
- Multiple layers, including insulation, to maintain a regular interior temperature.
- Interior and exterior finishes to shield the structure.
- Openings. (See Strategy 08)
Consider the following when designing the walls:
- Wind.
- Seismic Design Category.
- Flood forces - hydrostatic, hydrodynamic, debris, breaking waves.
- Openings - size and number.
- Strength of the foundation.
- Roof weight.
- Anchoring system for a natural disaster.
- Budget.
- Weight supporting including equipment and people on the roof.
ESTIMATED COST
| $ | Wood frame with panels $ per sq. ft. |
| $$ | Concrete columns with fill-in walls $ per sq. ft. |
| $$ | Cast-in-place concrete with blocks $ per sq. ft. |
DISCLAIMER
Consult with licensed building professionals to design and build walls. Stay in touch with the design professionals that designed and constructed your home's walls as an important resource when it is time for maintenance.
Ensure foundation is compliant with 2018 Interna- tional Code Council codes IBC and IRC (as adopted by the PRBC), and structural provisions, and ASCE 7-16 and ASCE 24-14 (adopted by reference to IBC and IRC).

- Maintaining a continuous load path is like a chain that holds a home together from the roof to the foundation. A continuous load path is critical during an earthquake or hurricane because it holds a home together when ground forces or high winds try to pull it apart. Maintain a continuous load path by using vertical reinforcement, from the foundation to the roof, through the structural walls.
- Anchor interior partition walls into the structural frame for stability.


Ask an engineer what is the best type of wall for your home.
STRUCTURAL WALLS
- Mainly exterior walls (interior in some cases).
- Vertically continuous from foundation to roof through all floors.
- Part of the continuous load path.
- Support foundation and roof.
- Support the home under vertical forces, like gravity loads.
- Transfer lateral loads through the house and into the foundation.
- Frame into beams.
- In multi-family buildings, Rear walls and can be placed between units as fire walls.
NON-STRUCTURAL WALLS
(PARTITION WALLS)
- Interior walls.
- Not vertically continuous between floors.
- Not part of the continuous load path.
- Do not support any structure.
- Provide insulation and privacy.
Ask an engineer what are the best wall materials for your home.
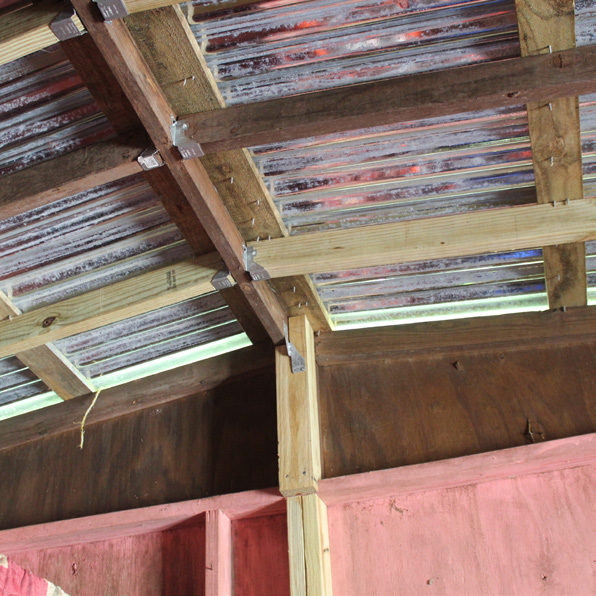
WOOD FRAME – STRUCTURAL
A structural system of wood rafters, trusses, floor joists, wall studs, columns, and beams that create a structure and framework for applied interior and exterior finished surfaces.
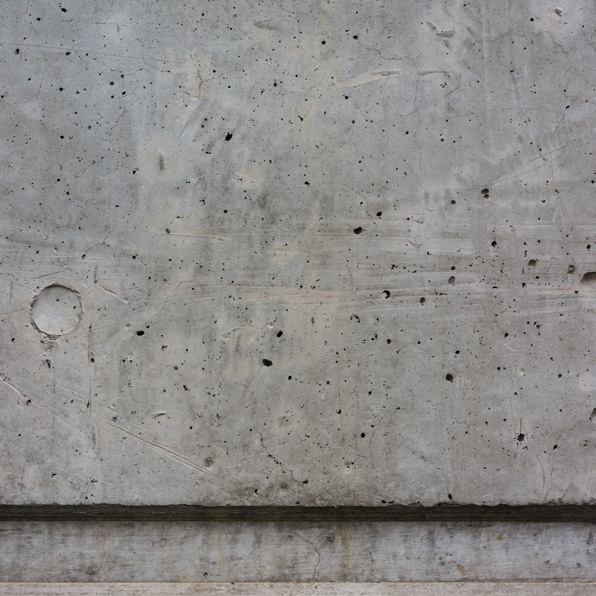
CONCRETE - STRUCTURAL
A mixture of aggregate (usually sand, gravel) along with cement and water. Poured concrete is cast into forms on the building site. Reinforcing steel bars, or rebars, provide concrete with structural strength.
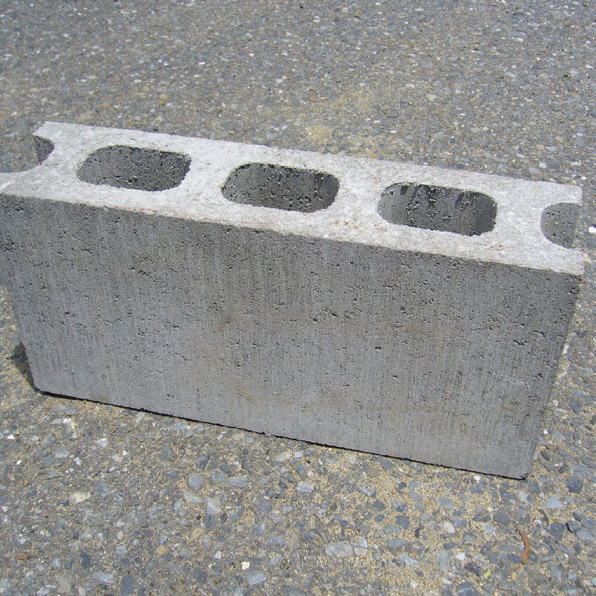
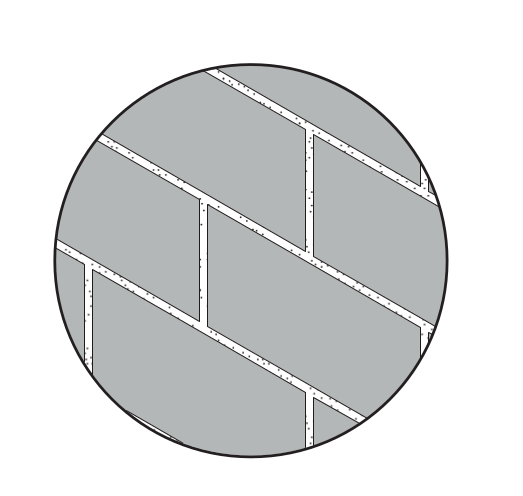
CONCRETE BLOCKS –
NON-STRUCTURAL
Also called concrete masonry units (CMUs), they are large, hollow units often filled with grout and rebar that create non-structural walls.
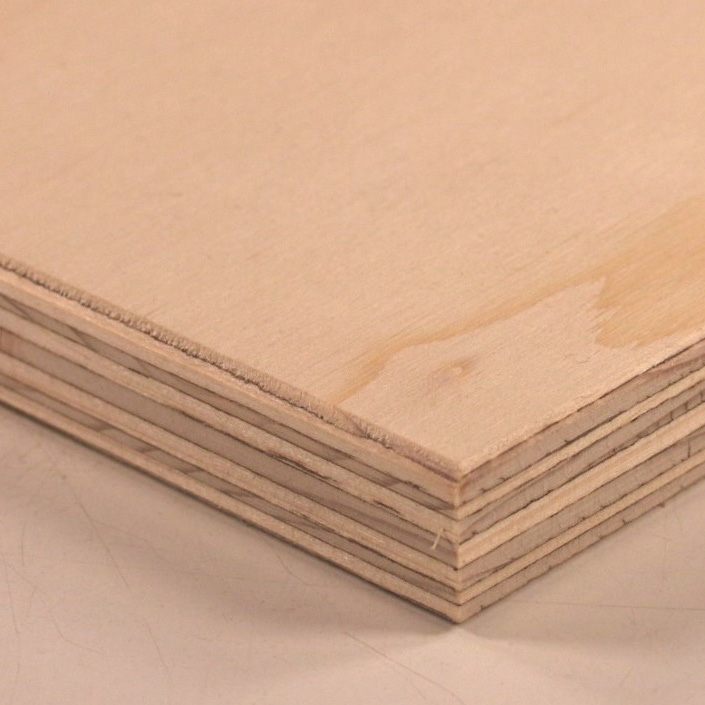
PLYWOOD PANELS –
NON-STRUCTURAL
Thin sheets of wood layered and glued together to create various standardized thickness and grades used for different applications like formwork for concrete, paneling and finishes. These also serve for boarding up openings in case of a hurricane.
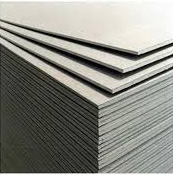
GYPSUM BOARD –
NON-STRUCTURAL
Typically made of metal, finished with joint compound sanded between layers until the surface is smooth and ready for paint. Mostly used as interior partitions and dropped ceiling features.
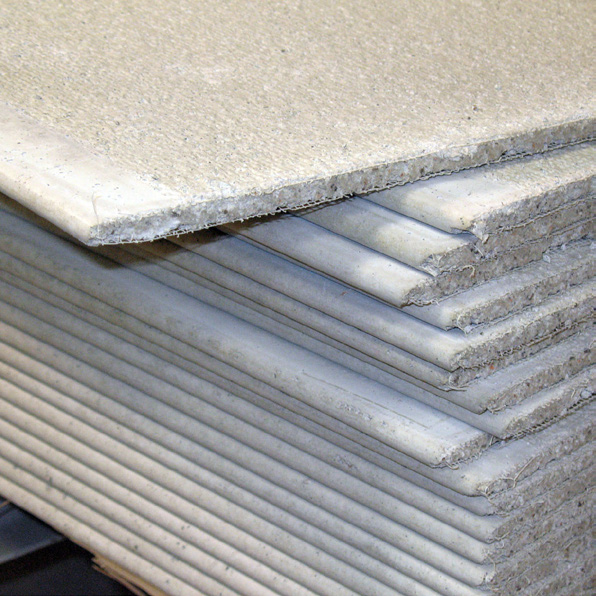
FIBER CEMENT BOARDS
(PLYCEM)-NON STRUCTURAL
Thin tiles or sheets made of cement that are reinforced with glass fibers. These come in different sizes, mixtures and consistencies.
Ask an engineer how to design a resilient and strong wall system.
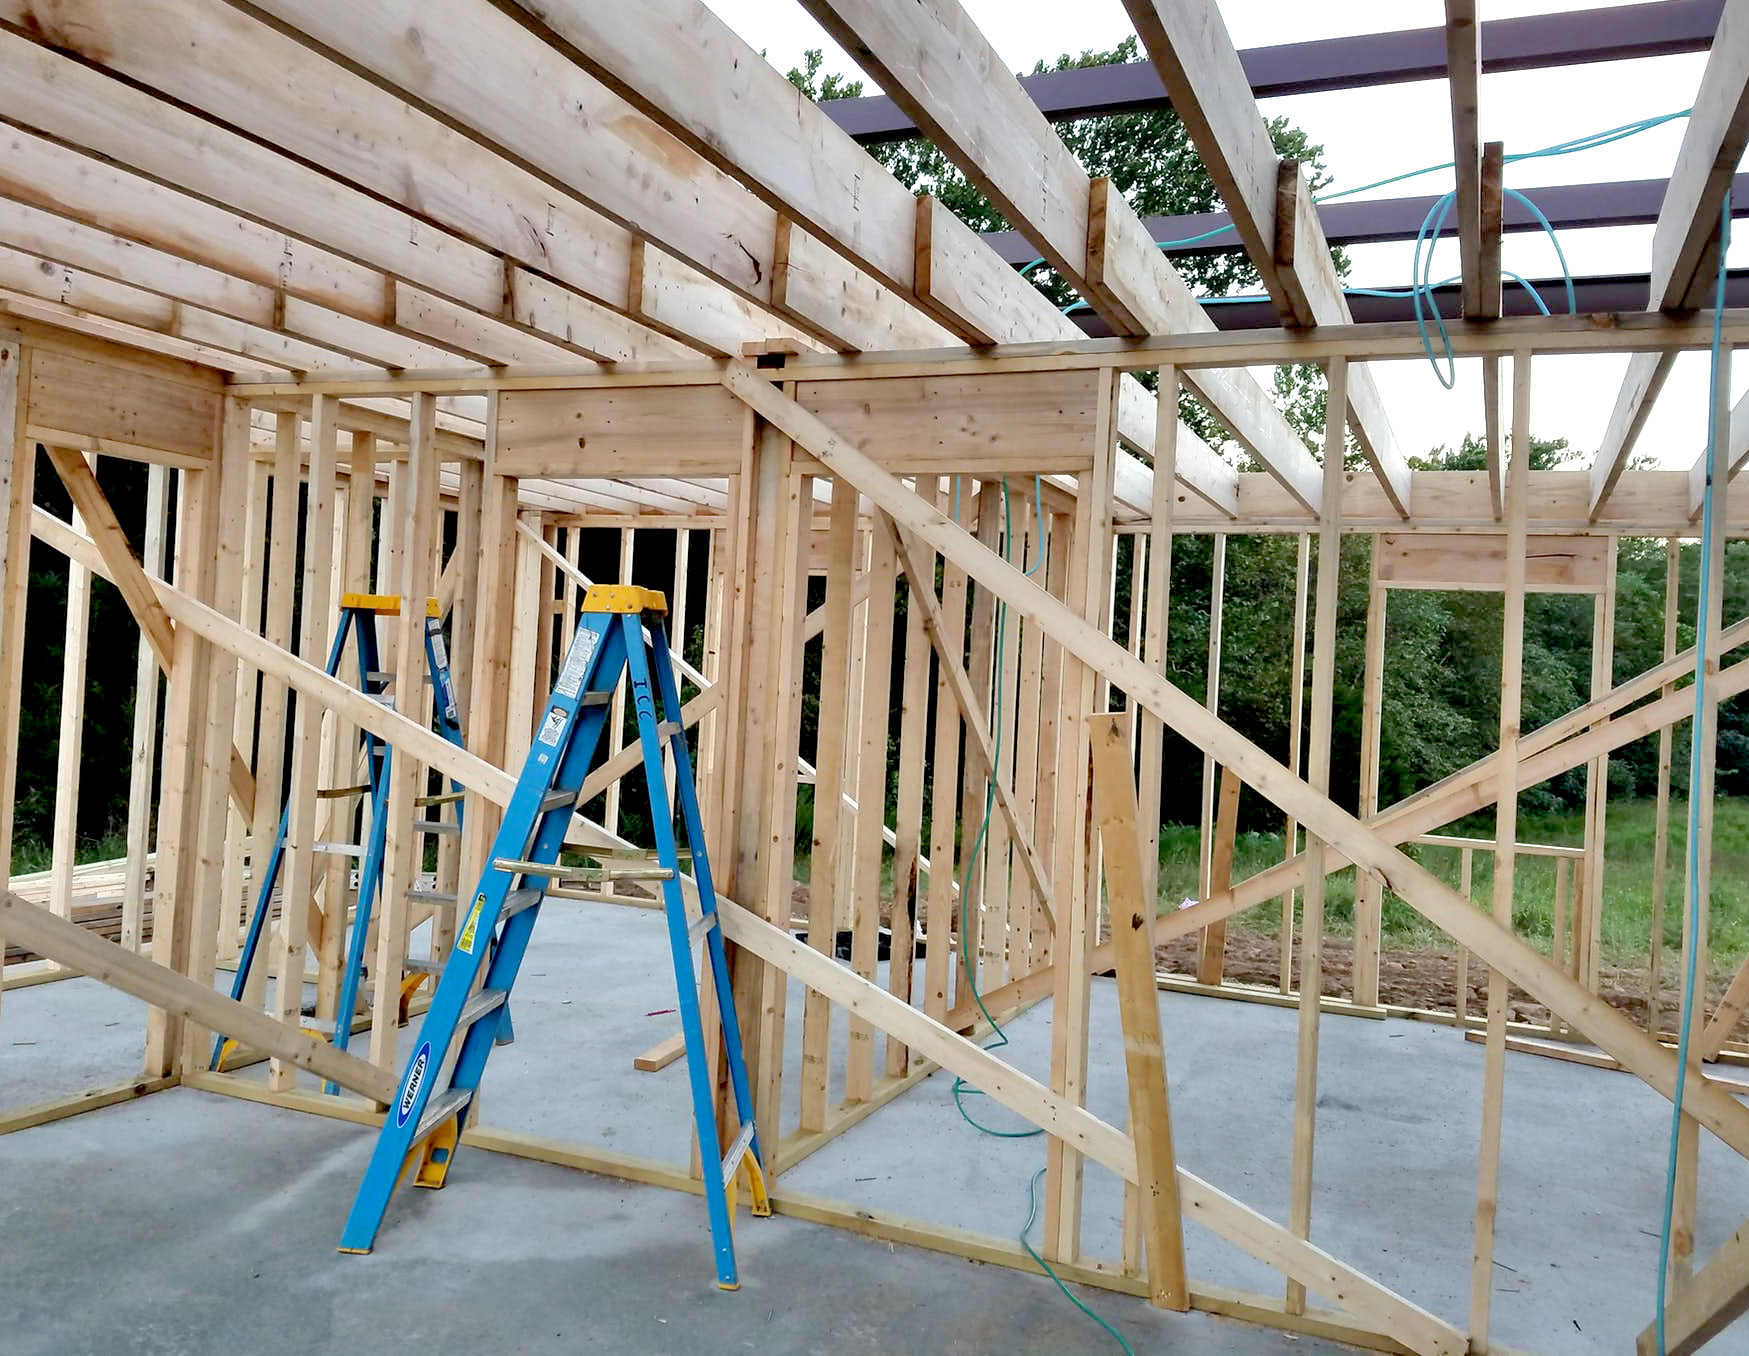
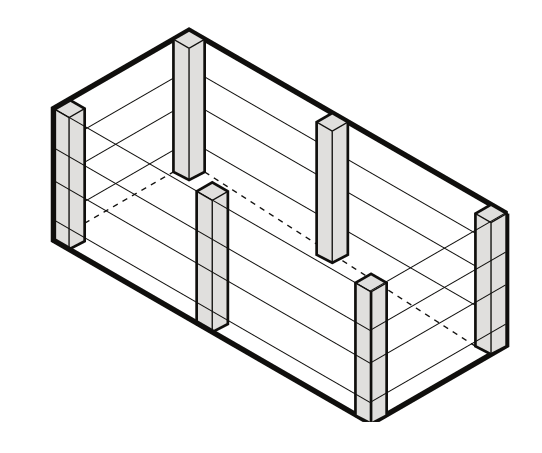
A. WOOD FRAME
 Wood frame construction consists of a structural frame of beam and columns or stud-frame walls that maintain a direct and continuous load path from the roof down to the foundation.
- Wood frame construction typically uses treated lumber with nominal dimensions or measurements ( 2 ft. x 4 ft.).
- A double layer of lumber, known as the top plate, sits on top of the wood studs. This piece anchors the roof to the wall construction. See Strategy 07 for more information.
- Space wall studs at 16 in. on center or less sit on an additional double layer of lumber known as the bottom or sill plate.
- Horizontal beams can be added for extra support. Use pressure-treated wood 12 in. above the Base Flood Elevation (BFE). Use moisture resistant panel screws below the beams so they can be easily cleaned and replaced.
- To expand an existing concrete home with wood frame construction, consult a licensed design professional to confirm proper anchorage techniques and ensure a continuous load path.
 Wood frame construction consists of a structural frame of beam and columns or stud-frame walls that maintain a direct and continuous load path from the roof down to the foundation.
 |  |
- The sill plate anchors the entire wall system to the foundation using anchors and straps. Nuts and washers are used to tighten the anchor bolts, and holes must be drilled in the lumber before installing the anchors.
- Stud-frame walls and columns rest directly on the sill plate attached to the foundation using anchors and hold down ties.
- Corner columns require (3) 2’x 4’members on each side attatched to bolts and washers. The corner columns are attached to the foundation.
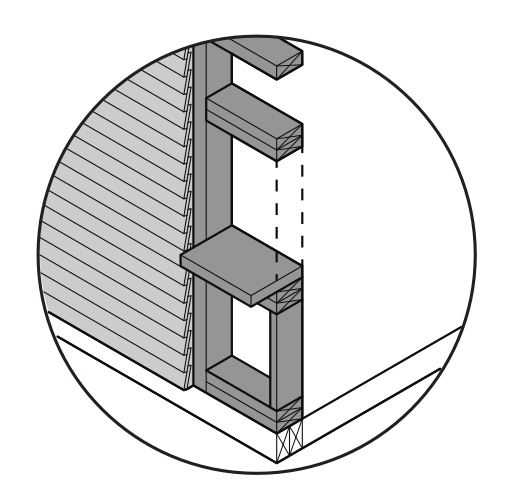
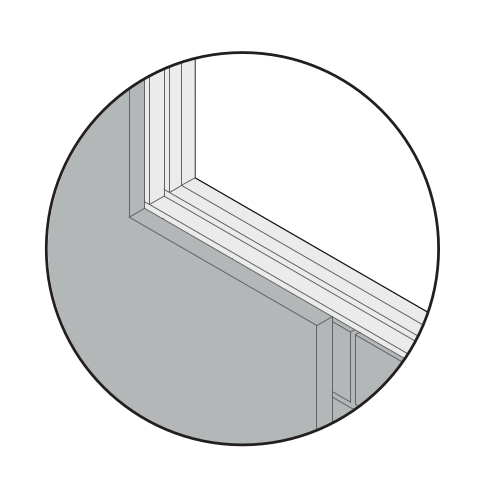
FRAMING AROUND OPENINGS
- Double vertical “jack trim” and horizontal “header” and “sill” members are recommended on all sides, typically 2 ft. x 4 ft.
- Framing members around the openings are connected using metal plates or angles and fasteners. The fasteners are typically either bolts or lag screws. There is a variety of fasteners in the marketplace. Consult with the manufacturer to determine the appropriate fastener, size, frequency, and fastening pattern for the home.
- Refer to Strategy 08 for anchorage, sealing, and protection methods.
- See Strategy 12 and 11 for placing openings for proper ventilation and natural light.
CONNECTION BETWEEN EXTERIOR AND INTERIOR WALLS
- If interior structural walls are required for heavy lateral loads (i.e. seismic forces), tie them to the structural system correctly. They require special connections to the exterior structural walls and floor diaphragms.
CONNECTION BETWEEN STORIES
- Structural walls should be vertically continuous from the foundation to the roof.
- The roof of a concrete home can be used as a slab-on-grade floor for the wood frame on the second story.
- Anchor wood floors into the structural walls using anchor bolts.
- The second story walls sit directly above the floor joists. They connect to the bottom wall plate and floor joist using nails, fasteners and metal plates/angles, or manufactured connections.
- Exterior and interior structural walls align directly above the first-floor structural walls.
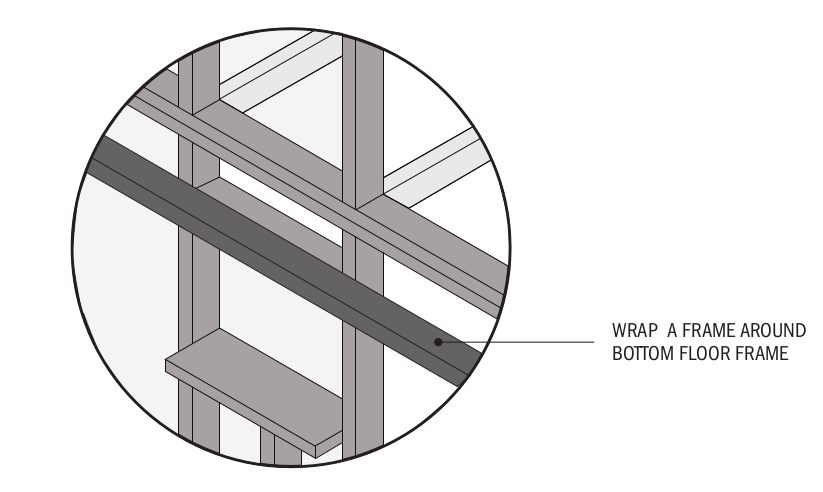
- Use metal straps to reinforce floor-to-foundation connections.
- Ensure vertical members (studs/columns) are properly connected to the horizontal members (top and bottom plates).
- Use flood damage-resistant materials below the anticipated design flood level. Refer to FEMA Technical Building 2 (FEMA TB- 2) for requirements in flood zones.
- Place insulation inside the frame between the studs to keep interior temperature stable, despite outside temperature.
- Place insulation inside the frame between the studs to keep interior temperature stable, despite outside temperature.
- Sheathing, typically plywood, is attached to the wood studs and joists using 6d or 8d common nails.
- Every panel must align with a wood stud, plate, or blocking for proper installation.
- A 4 ft. x 8 ft. panel is recommended to span the wall studs.
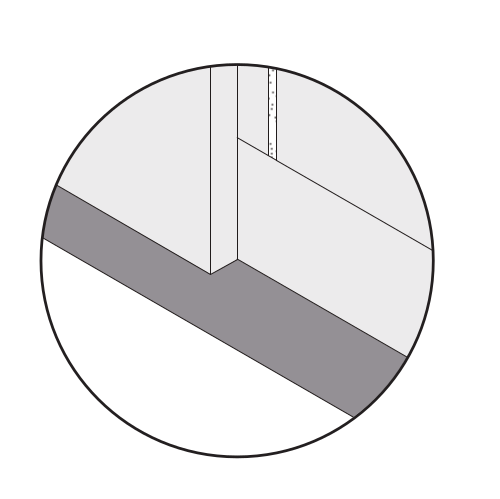
- Leave a minimum ½ in. vertical gap between sheathing panels to account for shrinkage of the supporting wood member.
- Exterior wall sheathing, like stucco plastering, can be used as a base for finishes.
- Plywood panels in structural walls should be 5/16 in. thick minimum and CD grade.
- Gypsum board used in structural walls should be ½ in. thick minimum.

B. CONCRETE
POURED CONCRETE
- Pour concrete directly into engineered formwork with rebar laid into the forms.
- Formwork is a mold, typically made from plywood panels, that frame the wall’s final thickness.
- Use ties to maintain the distance while pouring and curing.
- The process consists of: Build the formwork, pour the concrete and sample for testing, wait for the concrete to cure and verify strength test results, dismantle the formwork.
- The process is slower to erect than a wood frame or concrete frame with infill walls.
CONCRETE FRAME WITH INFILL WALLS
- Design a poured concrete frame as outlined above.
- Design a structural grid of rebar that connects columns.
- Columns must be directly above the foundation in order to transfer the load properly.
- Columns and beams have vertical and horizontal rebar to transfer gravity and lateral loads, including wind and seismic loads, into the foundation.
- Use concrete blocks to fill the gaps between the structural grid columns.
- Grout and place rebar in block cell at required spacing.
- Add joint reinforcement and horizontal rebar for lateral loads.
- Tie infill walls to the structural concrete frame.
CONNECTION TO FOUNDATION
- This system can only be anchored to a concrete foundation.
- The foundation should have dowels embedded in the dry mixture extending into the wall, prior to pouring the concrete.
- Reinforcing steel embedded in the foundation, called dowels, are the primary connection between the walls and the foundation. They should match the spacing and size of the wall rebar. See Strategy 05.
- Dowels should extend into the foundation and match the spacing and size of rebar. Typical spacing is 8 in. or 16 in. on center to match the concrete block rebar and size, depending on the structural design. Refer to Strategy 05 for information regarding foundations.
- Ensure there is adequate lap between the dowel and wall rebar to transfer forces into the foundation. The length of lap required depends on the size and type of dowel.
- Provide a minimum of 3 in. of concrete cover on all sides of the dowels.
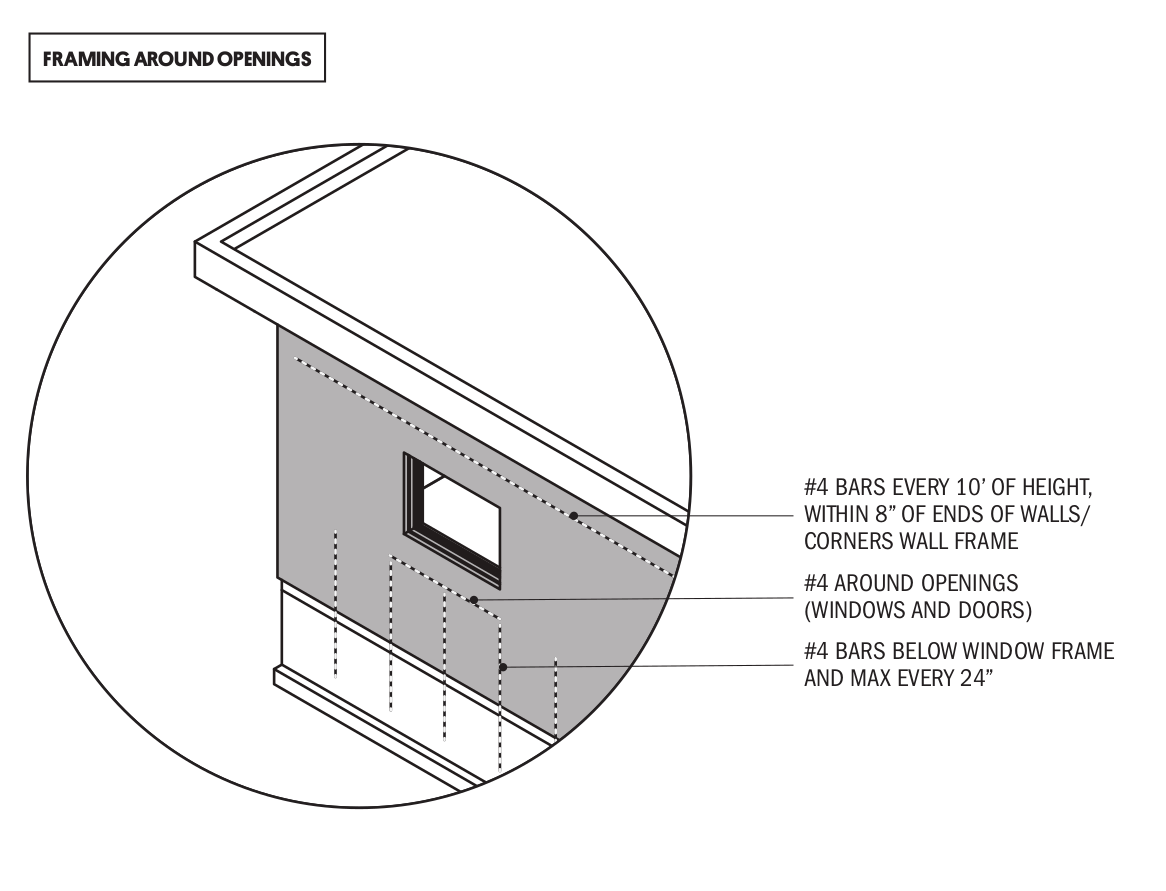
FRAMING AROUND OPENINGS
- The building code requires rebar around openings on all sides in structural walls.
- Additional horizontal rebar is required above and below the opening, called a lintel beam. Horizontal rebar should extend beyond the opening in both directions.
- Rebar size and spacing is dependent on the strength required. The building code requires a minimum of No. 4 size rebar (½ in. diameter), spaced at a maximum of 24 in. on center, but this will depend on the structural design.
- For concrete frame with infill walls, a poured concrete frame should be built for wall openings.
CONNECTION BETWEEN EXTERIOR AND INTERIOR WALLS
- Anchor interior partition walls into the frame for stability.
- Maintain a continuous load path by ensuring vertical reinforcement is continuous from the foundation to the roof in structural walls.
- Additional horizontal rebar, called a lintel beam is required and must be continuous on all exterior walls and interior structural walls.
- Ensure there is an adequate lap when transitioning between rebars.
CONNECTION BETWEEN STORIES
- Structural walls should be vertically continuous from the foundation to the roof.
- In multi-story homes, higher floors may have wood framing.
- Anchor wood floors into the structural walls using embedded anchor bolts.
FINISHING
- Latex paint and ceramic tiles are the best type of material to withstand flooding and protect the structure.
- Use manufacturer instructions to prepare the wall before applying.
- Anchor exterior finishes, like tiles, using wall ties.
- In addition to floodproofing requirements, waterproofing is recommended on exterior wall and slab surfaces.