REINFORCE SITE WITH INFRASTRUCTURE
|
Risks threatening a site like flooding and fire can be mitigated by designing green and gray infrastructure to work together. Green and gray infrastructure help manage risks from storm water, support heat reduction, manage drought, enhance air quality, and create recreational spaces. This strategy focuses on how to choose infrastructure elements that best suit your site. |
Strategy in Action 2. Implement Green Infrastructure on Site 3. Implement Gray Infrastructure on Site |
WHAT YOU NEED TO KNOW
Many of these strategies are best deployed at the community level as a community wide infrastructure project rather than individual sites, which have site and size limitations, such as sister housing sites.

- For New Construction, Site Housing in a Safe Location
- Don't site your house or facility in a floodplain or floodway as determined by FEMA: https://msc.fema.gov/portal/home
- Be careful not to site housing in an area prone to landslides. Consult with the resources listed below for a description of historical landslides.
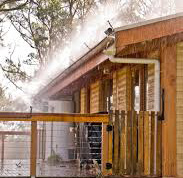
- Ensure drainage paths go from the roof, down the wall, away from the house and the site, and into the street gutters to avoid dumping water onto your neighbor's site.
- Avoid locating your home or building in a very arid area without bringing water to the site to keep foliage from drying out and becoming “tinder.”
- Avoid locating your home, building, or associated infrastructure in coastal areas.

- Consult a contractor, civil engineer, agronomist, or the Agricultural Extension Service (SEA, by its Spanish acronym) to design green infrastructure systems as outlined below.
- Be cautious when choosing where to deposit water. If water is contaminated with debris, do not deposit into a lake, river, or sea.

A. BERMS
Berms are compacted earth or gravel ridges that slow water headed downslope from rain, riverine flooding, or storm surge in coastal areas and reduce erosion. Berms offer opportunities for other activities as well; frequently termed ‘berms with benefits,’ they create walking paths, exercise, picnic or meditation areas, and places for children to play.
NATURAL HAZARDS IT PREVENTS
- Landslides
- Flooding
- Erosion
- Storm Surge
WHAT YOU NEED TO KNOW
- The slope ratio of a berm should be around 1:4 or 1:5 and should be 18”-24” high. The purpose of the slope is to drain and direct. water.
- Pile compacted soil or washed stone parallel to ditch, opposite the water flow, at a maximum slope of 1:2.
- In most cases, herbaceous vegetation will help in stabilizing the berms.
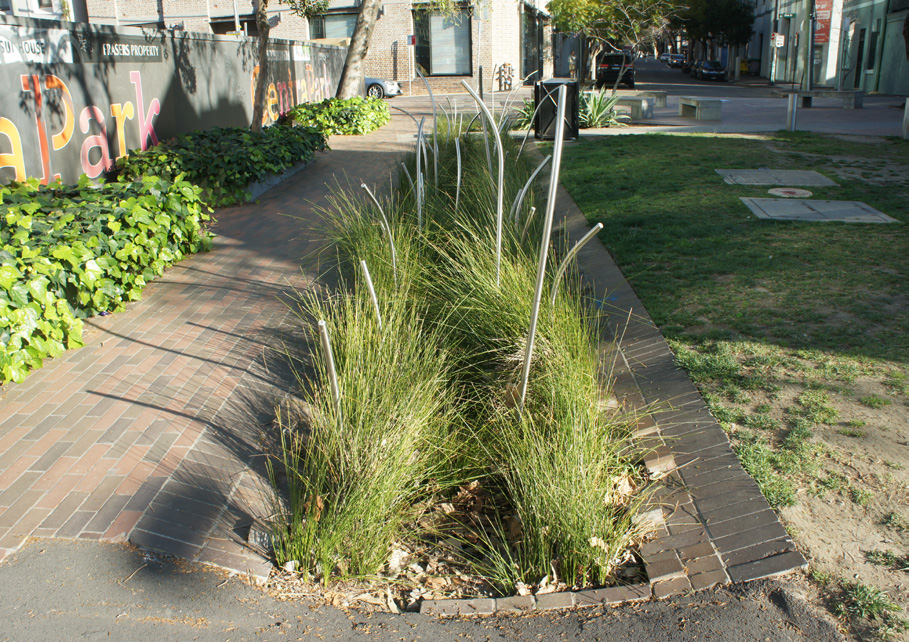
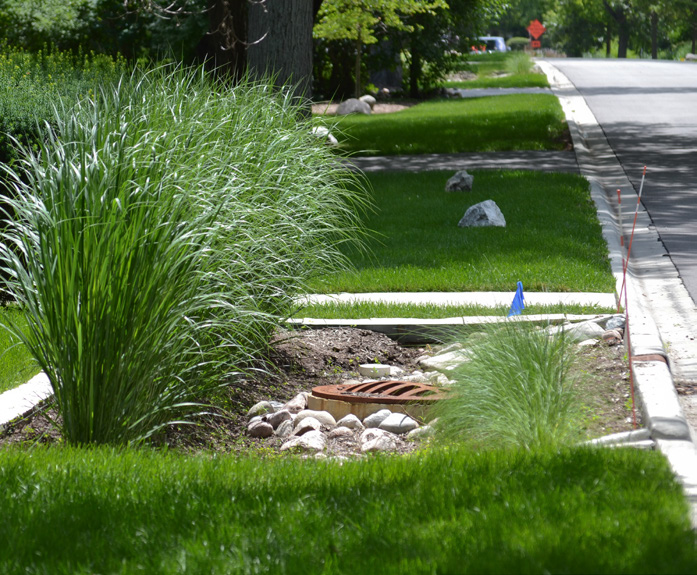
B. SWALES
Swales are shallow channels with gently sloped sides that manage water runoff, filter pollutants, and increase rainwater filtration by directing water to a garden with adequate drainage (rain garden) or a buried dry well. It can also absorb water through the soil on site and protect natural waterways. A swale may be either natural or human created. Artificial swales are often infiltration basins.
NATURAL HAZARDS IT PREVENTS
- Landslides
- Flooding
- Erosion
- Storm Surge
WHAT YOU NEED TO KNOW
- Dig the channel with sloped slides and a small slope in the direction of water runoff.
- The sides of the swale should flare so they extend out 3’’ to 4” more than they are tall, and the first 8” of soil should drain well.
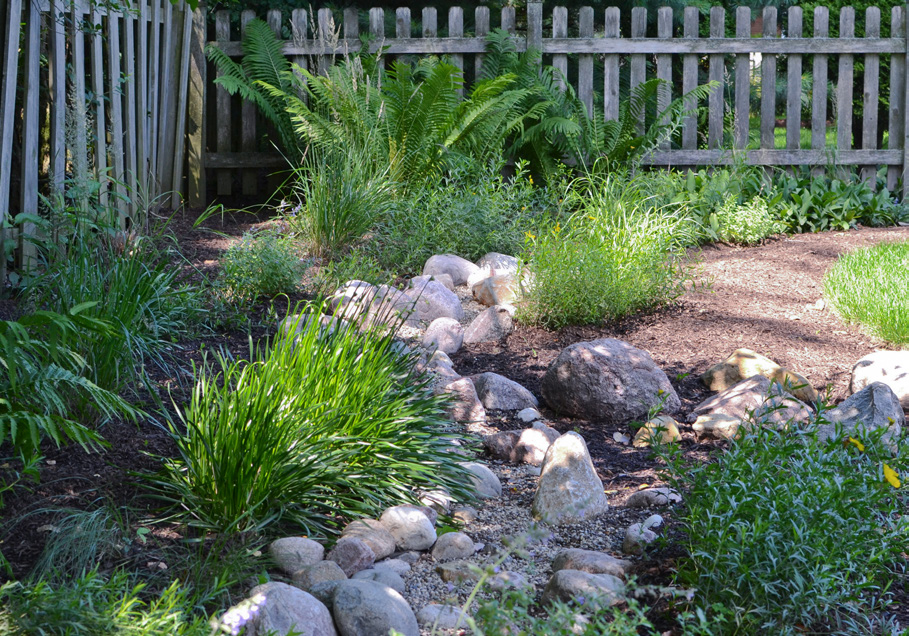
C. BIOSWALES/RAIN GARDENS
Bioswales/Rain Gardens receive water and filter it through different substrate layers and vegetation and help to absorb rainwater. They can be engineered to manage a specific amount of rainfall.
NATURAL HAZARDS IT PREVENTS
- Flooding
- Storm Surge
WHAT YOU NEED TO KNOW
- A bioswale consists of:
- Vegetation layer on slope
- Mulch & top soil
- Geotextile fabric
- Trench with perforated pipe
D. BOULDERS
Boulders (also known as rip rap) are large pieces of rock that can be placed strategically to steer water, hold earth, or even act as wave-barriers (“rompeolas”) and mitigate erosion.
NATURAL HAZARDS IT PREVENTS
- Flooding
- Storm Surge
WHAT YOU NEED TO KNOW
- Shores: Boulders can be implemented in shores to reduce erosion or at the foot of a slope to give it structure and avoid mudslides in fields.
- They generally come in 3 sizes:
- Small – 4”-5”: good at preventing erosion and weed growth
- Medium – 6”-9”: prevents erosion, discourages walking traffic
- Large – 9” and up: absorbs wave energy more efficiently, prevents erosion on critical areas.
- Concrete rubble from demolitions can be repurposed for this.

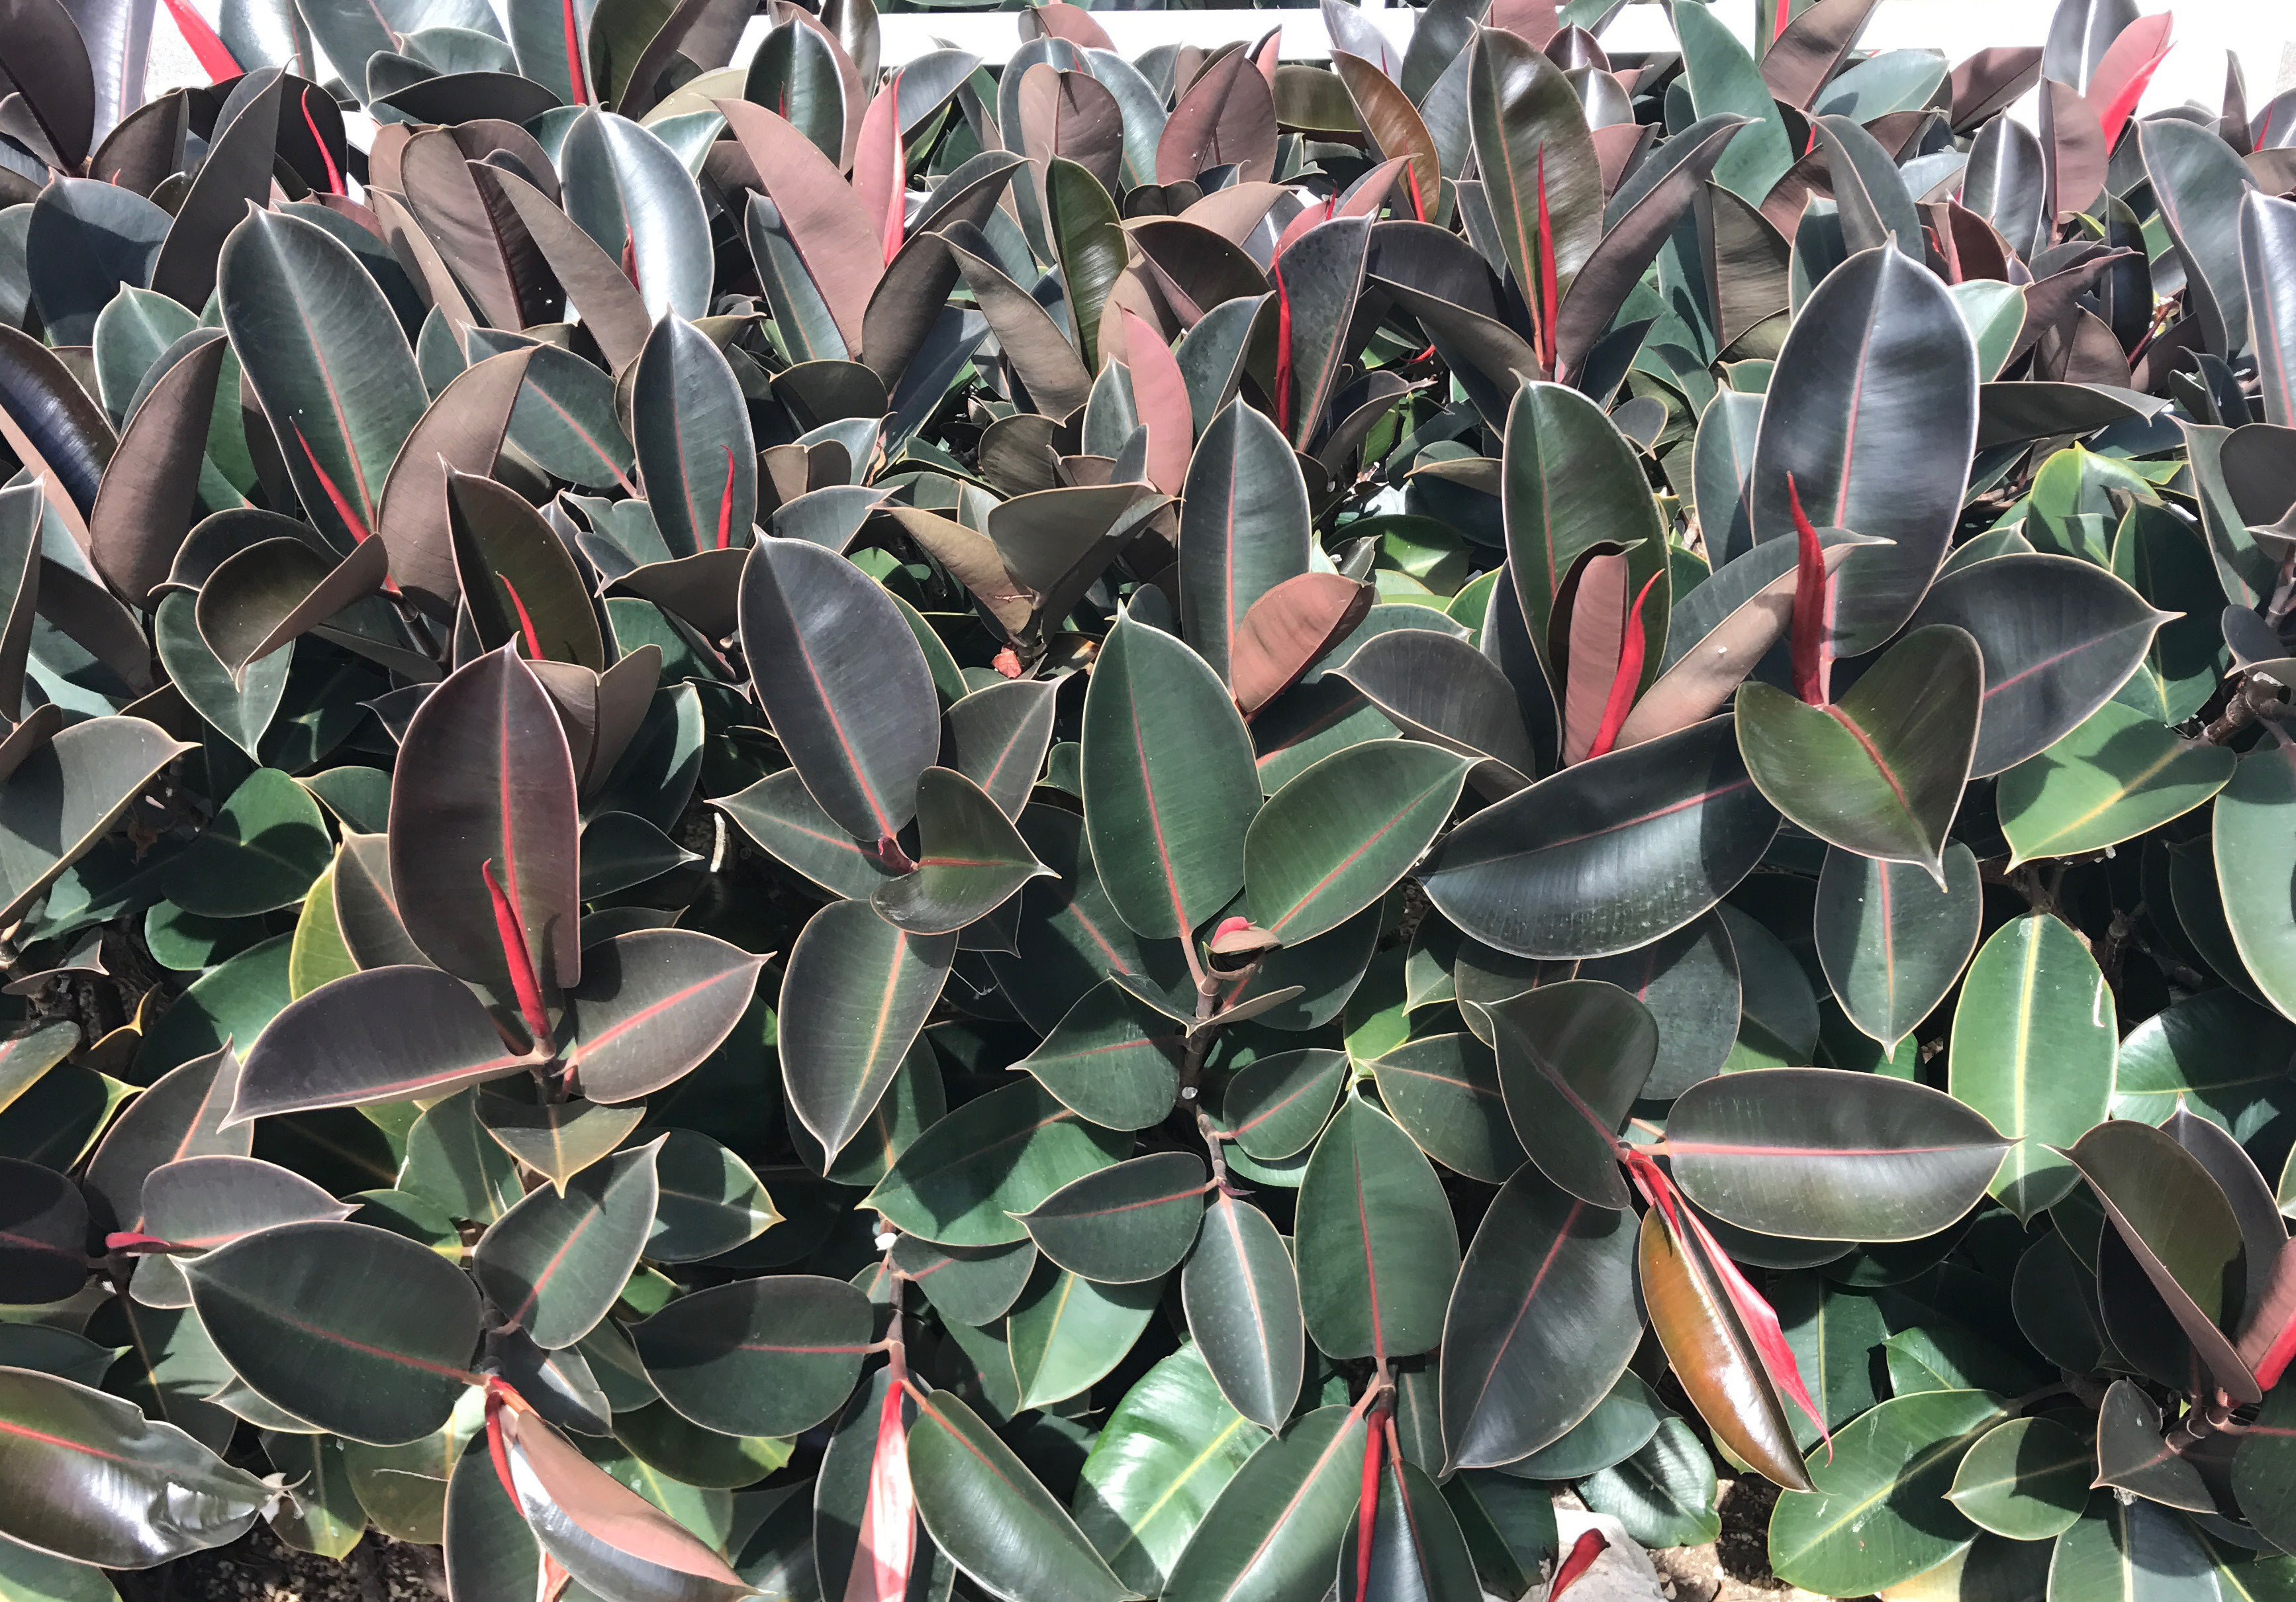
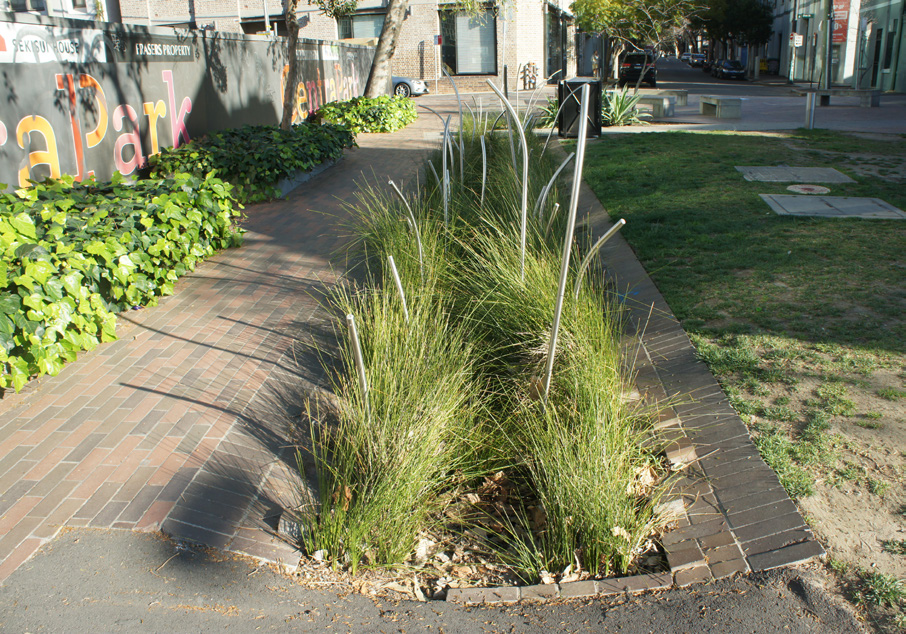
E. VEGETATION
Plants help anchor soil systems, which prevents earth movement while mitigating flooding damage. Superficial roots stabilize the top soil while deep and lateral roots fortify deeper layers.
NATURAL HAZARDS IT PREVENTS
- Flooding
- Heat
- Fire
- Erosion
- Storm Surge
WHAT YOU NEED TO KNOW
- Identify a location for planting: the area should be separated from structures, aerial and terrestrial electric lines, water lines, and septic tanks.
- Select trees that do not damage structures or break easily with strong winds. Consider size, roots, flowering, fruits, and watering. See Strategy 11.
- Remove tree canopies that grow past the electric cables. Trees near electric lines should only be handled by the Electrical Authority of Puerto Rico (AEE, by its Spanish acronym).
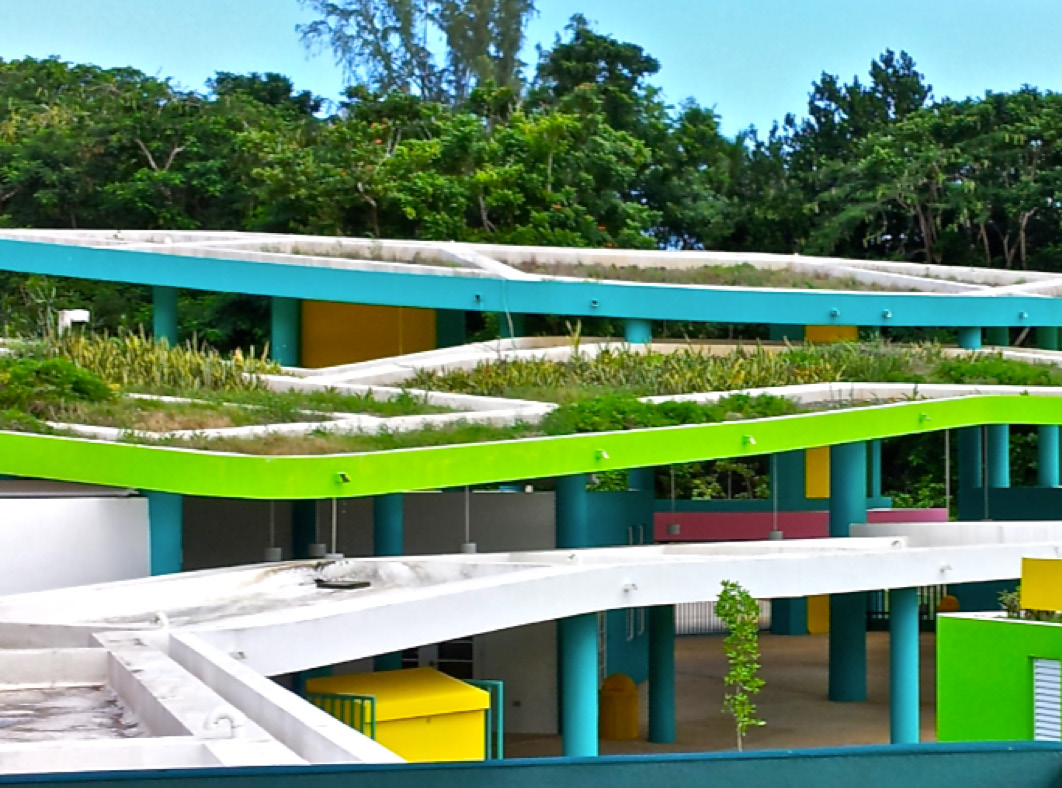
F. GREENROOF
Roofs that are partially or totally covered with soil and a growing medium, planted over a waterproofing membrane. Ask an architect or structural engineer if your roof can support the added weight of soil, plants, and the water green roofs retain.
NATURAL HAZARDS IT PREVENTS
- Heat
WHAT YOU NEED TO KNOW
- Roofs that are partially or completely covered with vegetation and a growing medium can help mitigate excessive heat gain and manage storm water.

G. RIDGES
Boulders (also known as rip rap) are large pieces of rock that can be placed strategically to steer water, hold earth, or even act as wave-barriers (“rompeolas”) and mitigate erosion.
NATURAL HAZARDS IT PREVENTS
- Flooding
- Storm Surge
WHAT YOU NEED TO KNOW
- Shores: Boulders can be implemented in shores to reduce erosion or at the foot of a slope to give it structure and avoid mudslides in fields.
- They generally come in 3 sizes:
- Small – 4”-5”: good at preventing erosion and weed growth
- Large – 9” and up: absorbs wave energy more efficiently, prevents erosion on critical areas.
- Concrete rubble from demolitions can be repurposed for this.
H. FIRE-WISE HOUSING
Strategically place plants and objects near home or property that are rated as not flammable.
NATURAL HAZARDS IT PREVENTS
- Fire
WHAT YOU NEED TO KNOW
- Remove dry vegetation from around and between dwellings.
- Avoid building in areas where access for emergency vehicles may be challenging, such as in flood-prone areas.
- Avoid building on steep hillsides, where fire may spread rapidly upwards.
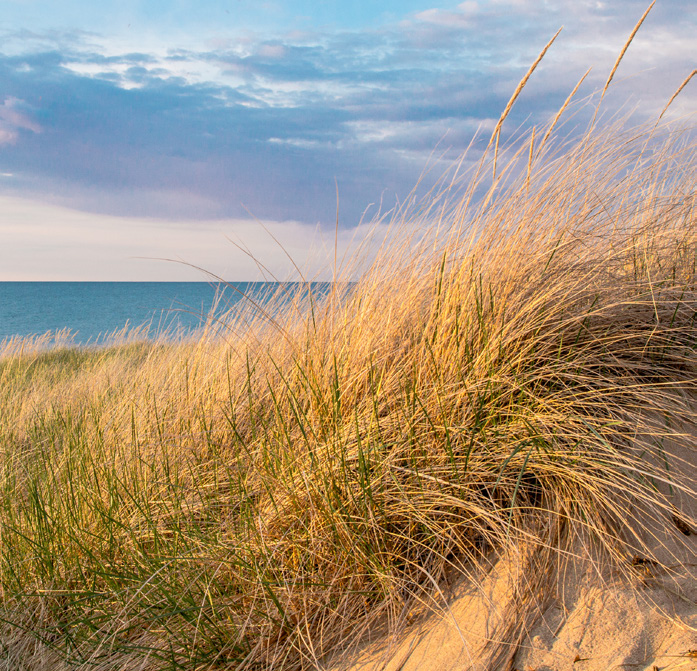
I. DUNES
Coastal dunes typically consist of sand mounds that can range from a few feet to several dozen feet in height and may have vegetation as part of their composition. Coastal dunes are not static: they change in size, shape, and location depending on the time of year or impacts associated with storms and coastal wave events. The main benefit dunes provide is protection against coastal hazards, as well as providing sand for beach replenishment in times of need.
NATURAL HAZARDS IT PREVENTS
- Landslides
WHAT YOU NEED TO KNOW
- To build a dune, the most efficient way is to incorporate simple structures or vegetation that will serve as filters for retaining sand. In the case of structures (like wooden pallets or screens), they will need to be relocated as the dune increases in size, while the vegetation will grow with the dune to occupy the new space. In general, the best way to promote a healthy dune system is to avoid interfering with them or removing vegetation already in place.
- Consult a contractor, civil engineer, agronomist or the Agricultural Extension Service (SEA, by its Spanish acronym) to design gray infrastructure systems as outlined below.
- Be cautious when choosing where to deposit water. If water is contaminated with debris, do not deposit into a lake, river, or sea.
- Gray infrastructure may require special permits and a larger and more specialized professional team, can be more costly, and can be disruptive to the site if not properly designed and built.

RETAINING WALLS
Retaining walls are permanent barriers that prevent water from infiltrating the site. They are designed to contain the weight of the terrain on a steep slope that otherwise would collapse. Without a retaining wall, extreme rain might destabilize the exposed terrain and cause a landslide. These structures are beneficial in areas where erosion is inevitable or where critical infrastructure needs to be protected.
NATURAL HAZARDS IT PREVENTS
- Flooding
- Landslides
- Erosion
- Heat
WHAT YOU NEED TO KNOW
- Built with reinforced concrete.
- Usually shaped as an inverted T.
- On the side of the terrain being stabilized, use a drain along the wall to keep water away from the structure.
- The drain consists of a PVC pipe surrounded by gravel and fabric that filters dirt and debris out.
DRY WELLS
Dry wells are underground tanks, usually made of concrete, that store water to percolate or drain slowly to another site or sewer. Their design is similar to a pool.
NATURAL HAZARDS IT PREVENTS
- Flooding
- Erosion
WHAT YOU NEED TO KNOW
- A simple dry well is a 4’’-6” deep and 3’ diameter pit filled with gravel or aggregate covered with topsoil.
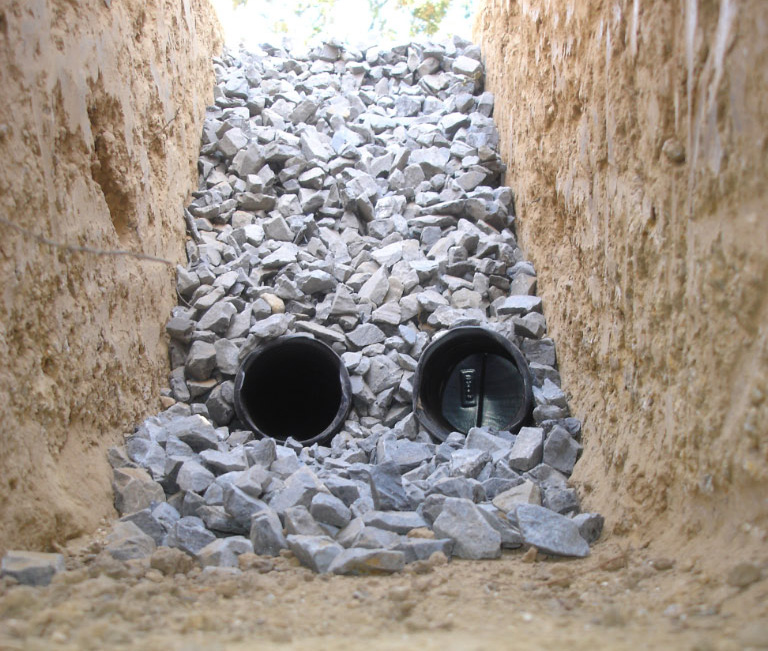
FRENCH DRAIN
A French Drain system slowly drains surface water and can consist of a PVC tube with holes, different grades of rock or similar materials that allow percolation of water through the soil and out to a desired area.
NATURAL HAZARDS IT PREVENTS
- Flooding
- Erosion
WHAT YOU NEED TO KNOW
- Perforate a PVC tube and place into a trench.
- Surround the tube with gravel and then cover with a permeable fabric.
- Direct water to a sewer, dry well, or other method of disposal.
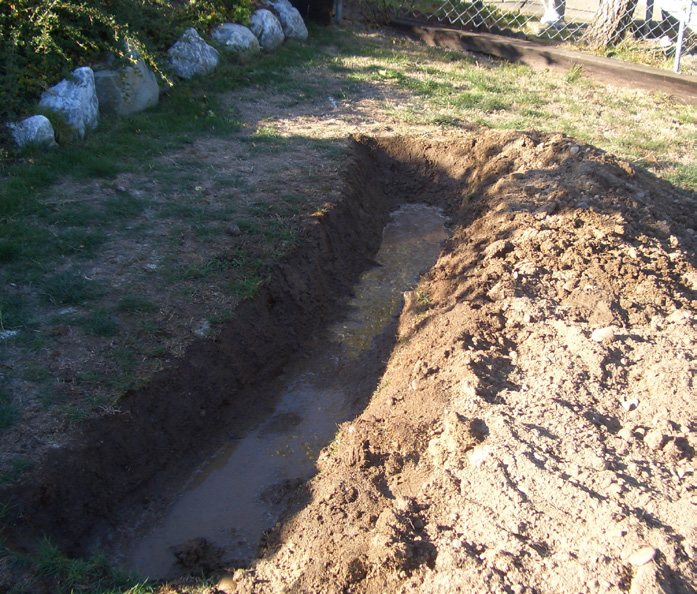
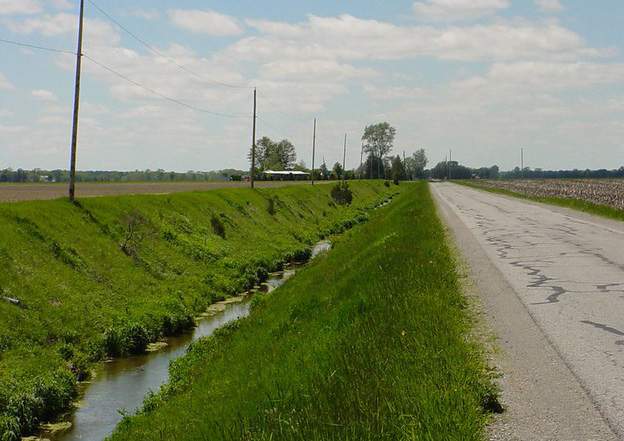
DITCH
Ditches are channels that are used to redirect water flow. Historically, common practice has been to “re-canalize” or “re- channel” rivers to avoid flooding but in recent years communities are adapting to “living with water,” rather than channeling it off site, by allowing water to flow through sites.
NATURAL HAZARDS IT PREVENTS
- Flooding
- Erosion
WHAT YOU NEED TO KNOW
- A simple dry well is a 4’’-6” deep and 3’ diameter pit filled with gravel or aggregate covered with topsoil.
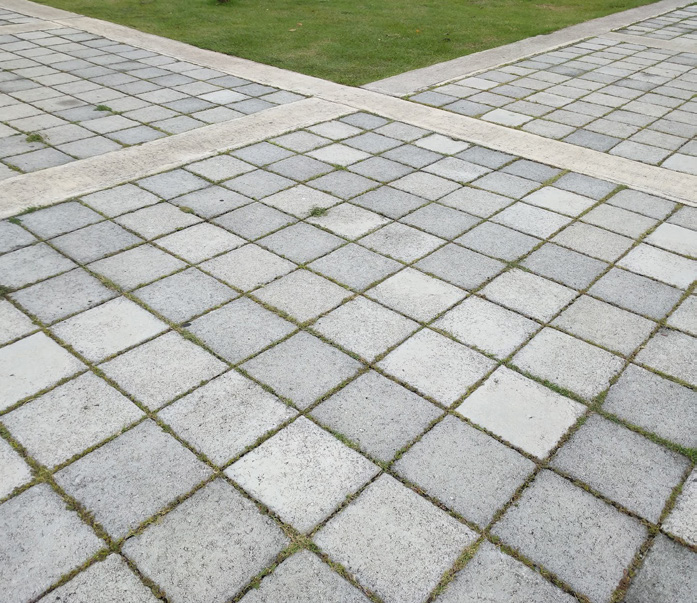
PERMEABLE SURFACES
Permeable surfaces consist of a paver, porous concrete, or other flooring system that allows water to pass through and percolate slowly into the soil, instead of solid pavement that reduces the area of the terrain that naturally percolates water.
- Usually made of asphalt, concrete, or planted surfaces.
- Areas with permeable pavement are usually utilized as an amenity for non- essential services like recreation.
NATURAL HAZARDS IT PREVENTS
- Flooding
- Heat
WHAT YOU NEED TO KNOW
- For pavers, the terrain is flattened and prepared prior to placement.
- The porous pavement or surface material is poured in place like regular concrete. Its porosity is a result of the permeable slab-like surface.
- If pavement needs to bear “loads” such as vehicles, it will need to be validated for load bearing capacity in advance of placement.
- Permeable surfaces used for parking, driving, or walking require periodic cleaning and inspection for weed growth on pavers or walls not designed to have vegetation.
- Keep a fire line on your site to prevent fire from encroaching on your site.
- Keep a clean site to keep hazards at bay.
- Keep draining systems free of debris.